
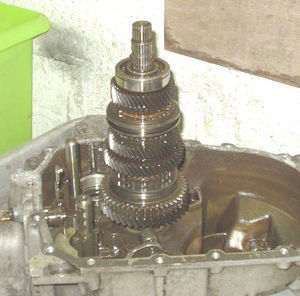
To ease the job of dismantling, the shaft is temporarily repositioned in the old gearbox casing. This provides a sturdy mount to hold the shaft whilst it is being worked on.

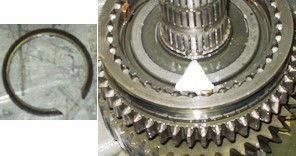
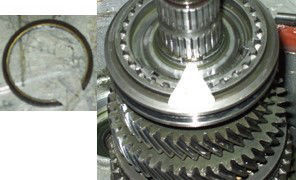
The retaining snap ring can be removed with a pair of circlip pliers as shown but it can be rather fiddly as it isn't easy to get a good purchase as it is not of the conventional circlip design with two engagement holes.

Once free from it's groove, the snap ring is slid up the shaft to remove.

If not distorted, the snap ring could be reused, though I would recommend replacement as a matter of course as it is really not worth the risk.

Removal of the bearing will require the use of the bearings locking ring as removed during the gearbox strip and a bearing puller.
The locking ring is repositioned in the groove on the bearing.

Then the puller is used to withdraw the bearing from the shaft, the legs of the puller locating on the bearing locking ring.
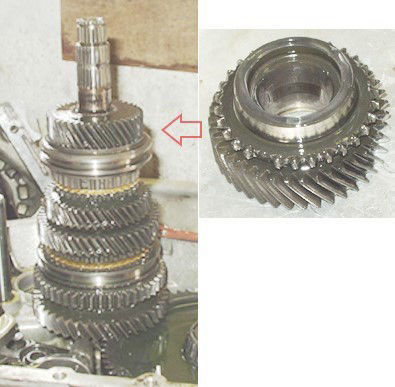
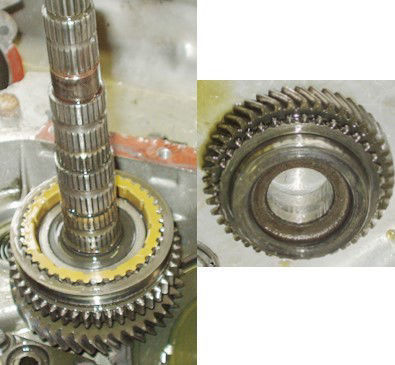
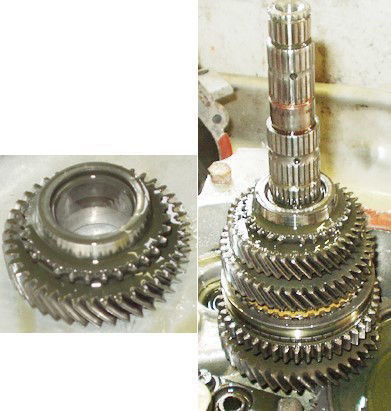
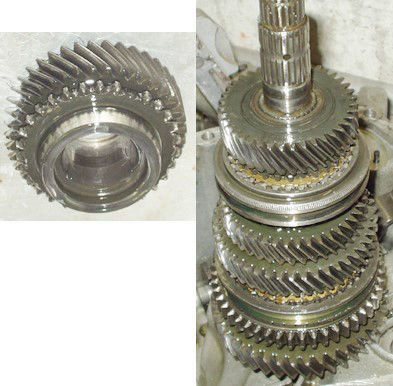
The 4th gear is drawn from the shaft (shown the other way around in the photo so that you can see the selector engagement teeth).
Followed by it's synchronizer ring.

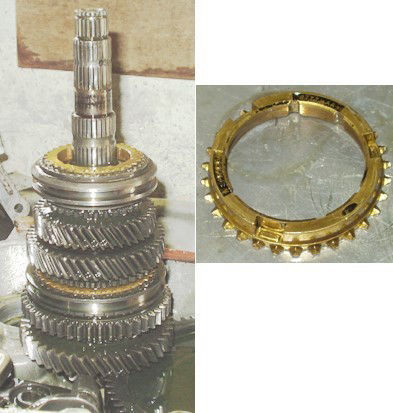
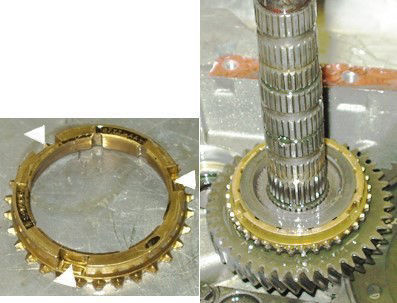
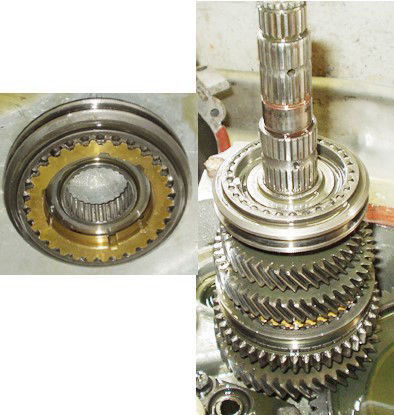
The selector/synchromesh unit is retained by a snap ring which must first be removed.

Then the 3rd/4th gear selector/synchromesh can be withdrawn along with the 3rd gear synchronizer ring.
Be careful when extracting the selector/synchronizer ring not to pull the unit apart. The outer 'selector' ring slides up and down the center hub and if pulled too far will disengage. This will cause three small sprung loaded bars to fly out and will provide you with the fiddly task of trying to rebuild it.

The 3rd gear is withdrawn from the main shaft.
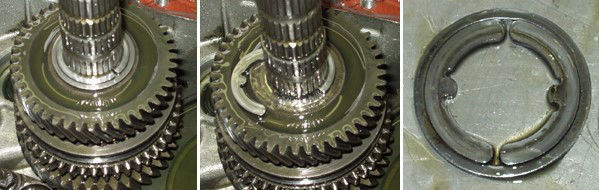
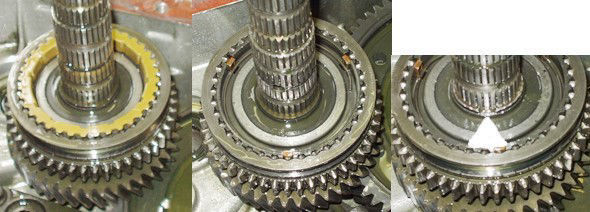
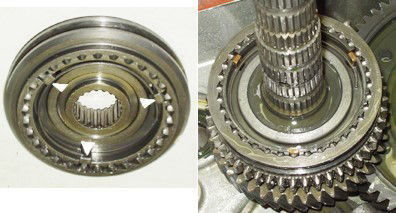
The 2nd gear is held in place with a split thrust washer arrangement as shown.
The outer ring is first lifted clear which then allows the two halves of the thrust washer to be withdrawn.
The 2nd gear can then be withdrawn.
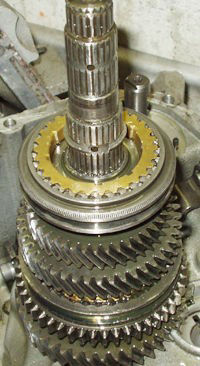
After removing the 2nd gear synchronizer ring you will have access to the 1st/2nd gear selector/synchronizer.
It is held in place with another snap ring.

Remove the snap ring and withdraw the selector/synchronizer.

First remove the 1st gear synchronizer ring.
Then withdraw the 1st gear.

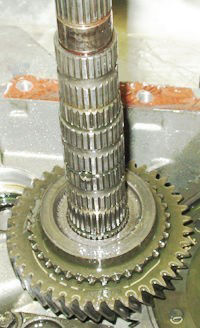
That's the main shaft completely stripped down. The final drive gear to the differential is an integral part of the shaft.

You will need various sizes of snap rings in order to rebuild the main shaft and these don't always come with rebuild kits. The snap rings are available from your local Ford dealership. However, each snap ring comes in numerous different sizes (approx 5 sizes for each snap ring). As the snap rings are no more than 75p each (at time of writing, bearing in mind this was the best part of two decades ago) then it would be prudent to get all the available sizes in one go and choose the most suitable when the time comes.
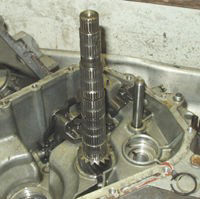
As before, mount the shaft in the gearbox casing to give a good sturdy working platform.
The rebuild of the shaft is pretty much (to quote a well known workshop manual) the reverse of the dismantling procedure but I shall go through it anyway.
Slide the first gear onto the shaft, making sure you have the engagement teeth facing upwards!
First fit the synchronizer ring to the first gear, being careful to note which way up it goes. Also keep in mind the three channels indicated.
Fit the selector/synchromesh. The three notches in the outer circumference of the synchronizer. ring must be lined up with the three sprung bars of the selector/synchromesh assembly.
Care should be taken not to push the outer selector ring out of position on the center hub.
The selector/synchromesh is secured in place with a new snap ring.
Care must be taken not to distort or over stretch the new snap rings when fitting. As previously mentioned, each snap ring comes in a choice of sizes. I don't actually know the correct way of sizing the required snap ring. I simply try'd the edge of each ring in the groove for thickness and chose the closest fit with out gripping. I also went for the smallest internal diameter each time.
The 2nd gear synchronizer. ring is then fitted into position remembering to line up the three notches with the three sprung loaded bars.

The second gear is slid into place with the engagement teeth facing downwards.

It is then secured in place with the split thrust washer. The tang on each half of the thrust washer locates in a hole in the shaft, the securing ring then placed over the two halves.
The third gear is slid onto the shaft with the engagement teeth facing upwards.
The synchronizer. ring is fitted onto the 3rd gear followed by the 3rd/4th gear selector/synchromesh assembly, taking cars to line up the notches and sprung bars as before. Alternatively, the synchronizer. ring can be fitted to the selector/synchromesh first and then the assembly slid into position.
Another snap ring is used to secure the assembly in position as before.
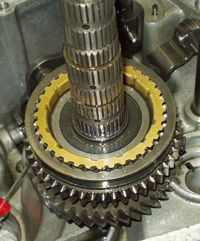
The 4th gear synchronizer. ring is fitted into the 3rd/4th gear selector/synchromesh.
Followed by the 4th gear which is simply slid into place, making sure the engagement teeth are facing downwards.
The bearing is pressed into place and retained with a snap ring.
Be careful to make sure you fit it the right way around. The groove in the outer race should be towards the top!


Made with
HTML Code Creator